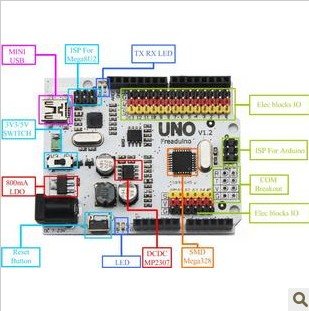
Controller Board
Arduino or Freeduino is an open-source platform used for building electronics projects. Arduino consists of both a physical programmable circuit board (often referred to as a microcontroller) and a piece of software, or IDE (Integrated Development Environment) that runs on your computer, used to write and upload computer code to the physical board.
DIGITAL OTPUTS:
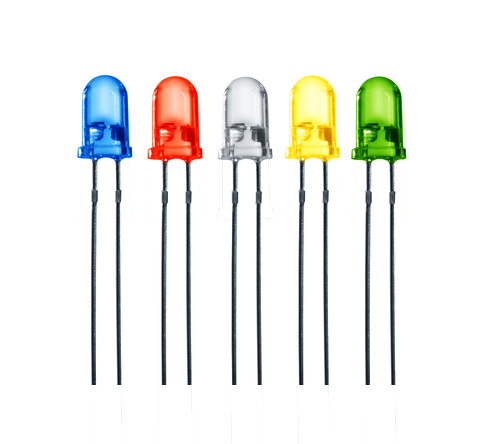
LED:
An LED lamp is a light-emitting diode (LED) product that is assembled into a lamp (or light bulb) for use in lighting fixtures. LED lamps have a lifespan and electrical efficiency that is several times better than incandescent lamps, and significantly better than most fluorescent lamps, with some chips able to emit more than 100 lumens per watt.Diodes only allow current to flow in one direction, and they’re always polarized. A diode has two terminals. The positive side is called the anode, and the negative one is called the cathode.
Ejercicios:
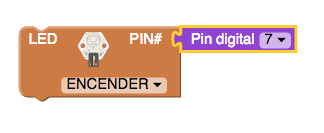
Turn On a LED.
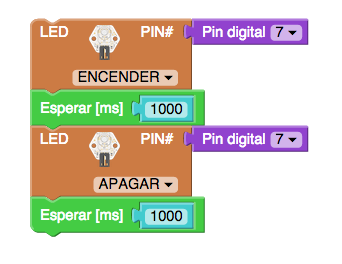
Turn ON and OFF a LED.
Buzzer:
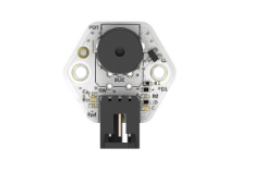
A “piezo buzzer” is basically a tiny speaker that you can connect directly to an Arduino or freeduino or other Controller Boards.
“Piezoelectricity” is an effect where certain crystals will change shape when you apply electricity to them. By applying an electric signal at the right frequency, the crystal can make sound.
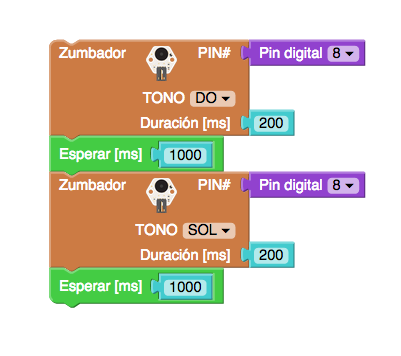
With bitbloq we can tell the Arduino or freeduino frecuencia correspondiente a la nota. Pr ejemplo: LA central es 440hz.
Exercises:
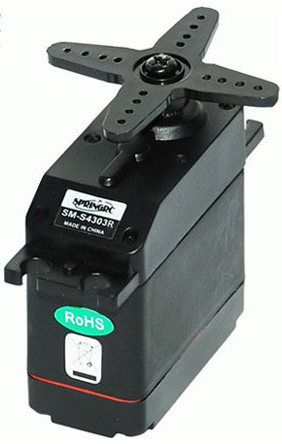
Miniservo Motor:
The servo motor has three leads. The color of the leads varies between servo motors, but the red lead is always 5V and GND will either be black or brown. The other lead is the control lead and this is usually orange or yellow. This control lead is connected to a digital pin.
The Servo Motor can turn 180 degrees. A half of a circle.
Exercises:

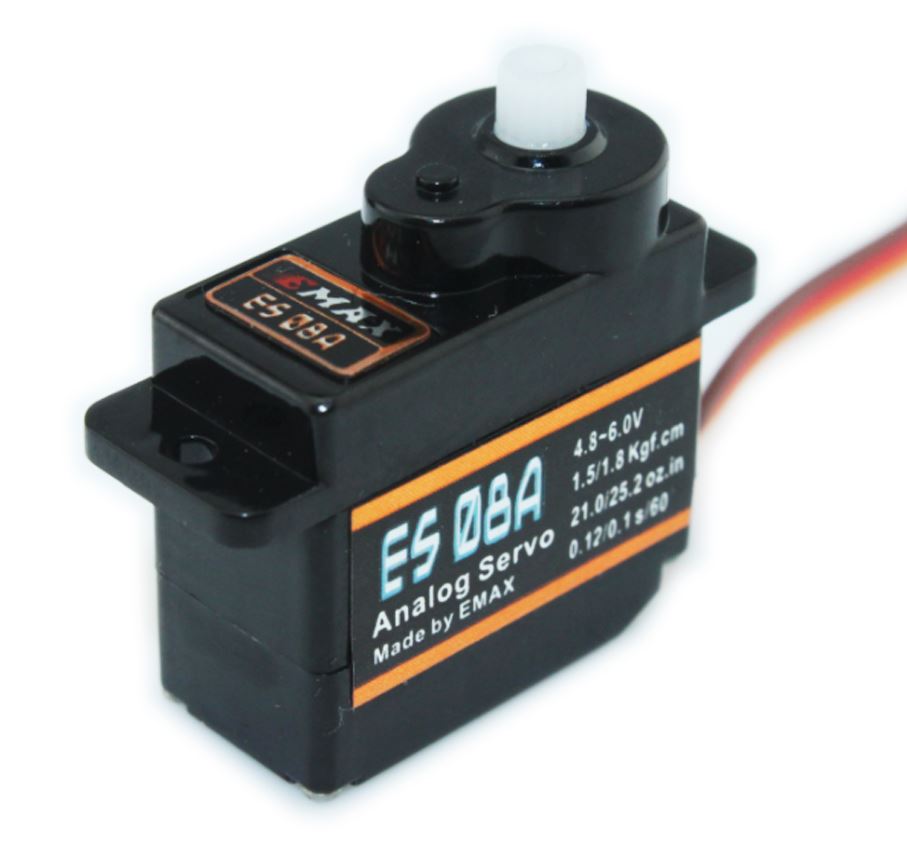
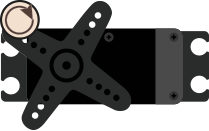
Continuous rotation Servo Motor:
Continuous rotation servos are standard hobby RC servos that have been modified to offer open-loop speed control instead of their usual closed-loop position control. This Servo it does not stop on a position like mini servo but it make a continuous rotation, you can adjust the rotation direction or stop it by programming with bit-bloq.
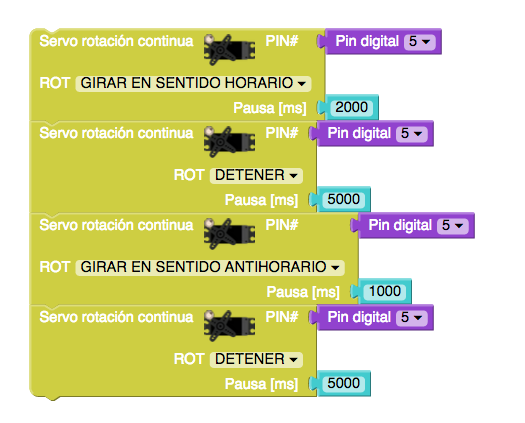
Exercises:
DIGITAL INPUTS:
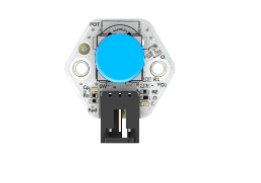
Pushbutton:
Pushbuttons or switches connect two points in a circuit when you press them. Ii can give two states: 1 or 0 when you press it
Exercises:
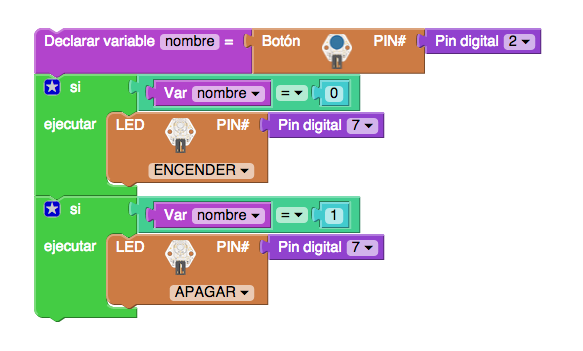
Pushbutton turn on a led:
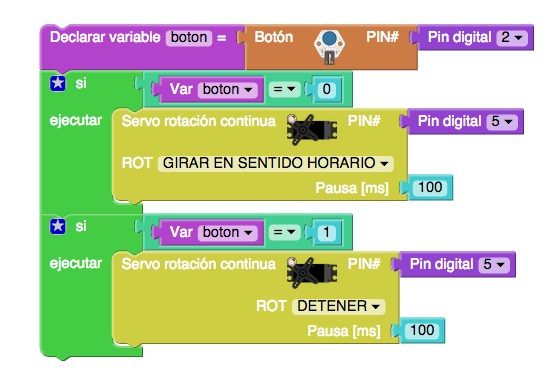
Pushbutton that activate a Continuous rotation servo Motor (clockwise movement):
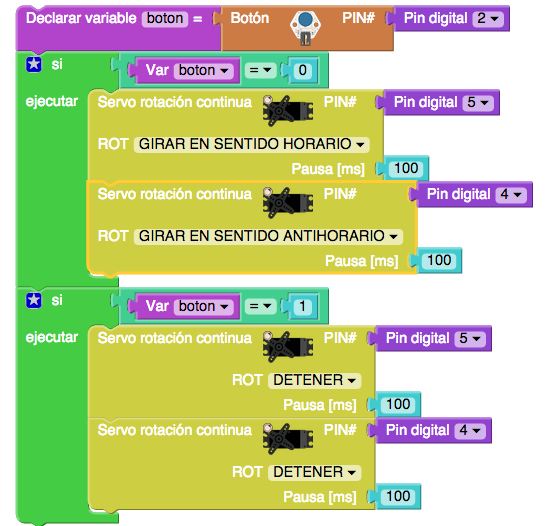
Now we are going to connect to other PIN another Continuous rotation servo Motor, and we are going to make it turn in an anti-clockwise movement.
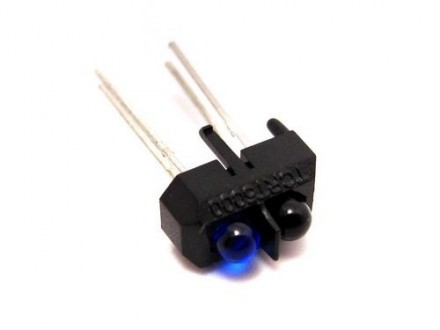
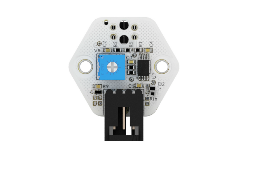
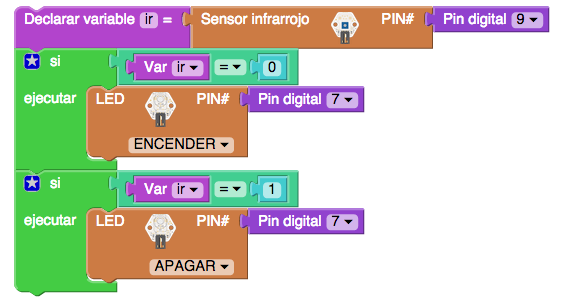
IR Sensor:
infrared Sensors or IR Sensors detects reflected light and it can make difference between black and white or dark and light.
It is a digital component that give us 2 states (0 y 1). When it detects black it give us 0. and when it detects white it give us 1.
Exercises:
ANALOG INPUTS:
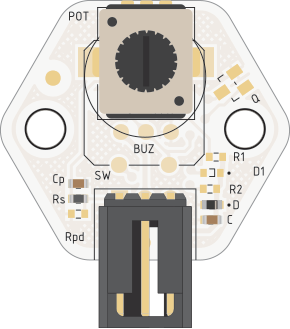
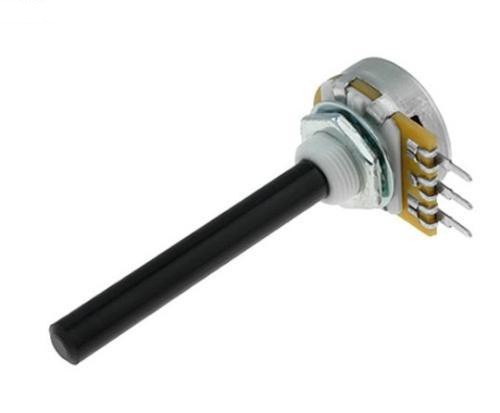
Potentiometer:
A potentiometer is a simple knob that provides a variable resistance, which we can read into the Arduino board as an analog value. You can change values by turning the shaft of the potentiometer.
Exercises:
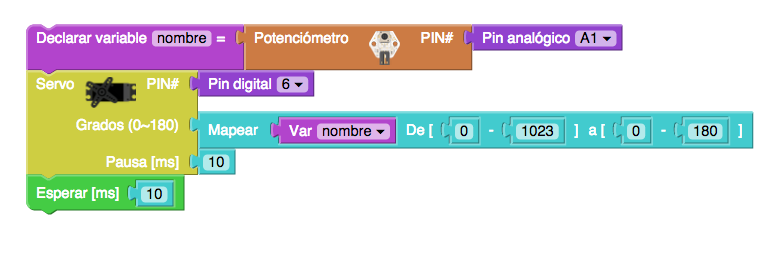
Moving a mini servo motor by turning the Potentiometer:
Changing the frequency of a sound with a potentiometer: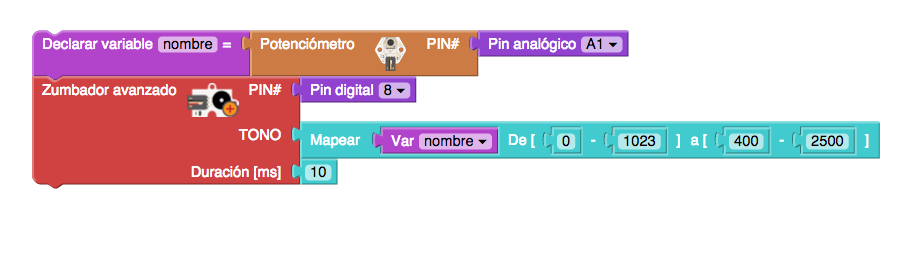
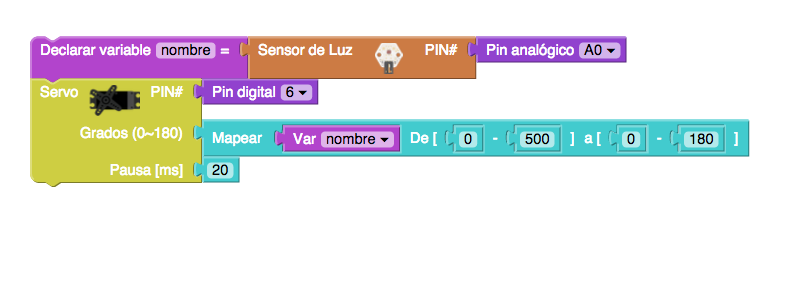
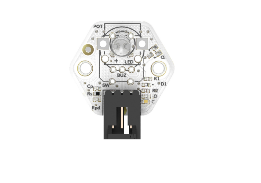
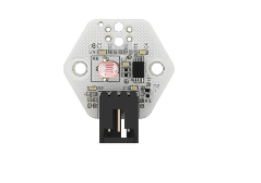
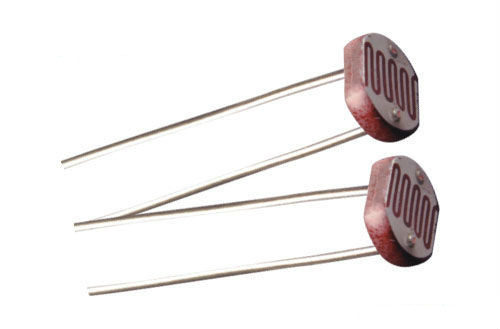
LDR (Light Dependent Resistors):
An LDR is a component that has a (variable) resistance that changes with the light intensity that falls upon it. This allows them to be used in light sensing circuits. In this BQ Robotic kit this sensors chance values between 0 and 500.
Exercises:
Control the miniervo motor movement wih the LDR: